
AI car swap guide for your own footage
An AI car swap replaces a vehicle in an existing video with the car shown in your photos. The source clip sets the shot, camera movement and action. A front photo and a side or rear three-quarter photo give ActLike AI two views of the replacement vehicle.
Choose your source clip before taking the photos
Watch the clip once and note how much of the car is visible. A parked car filmed from the front needs a clear front reference. A drive-by that reveals the side and rear benefits from a second photo taken from behind at an angle. For a first test, pick a short, continuous shot with one car in view and an unobstructed outline.
If the vehicle passes behind a wall or another car, try a brief section where it is clearly visible before processing the full clip. That makes it easier to tell whether any shape or trim changes come from the references or from a difficult part of the footage.
Show the front and side of the same car
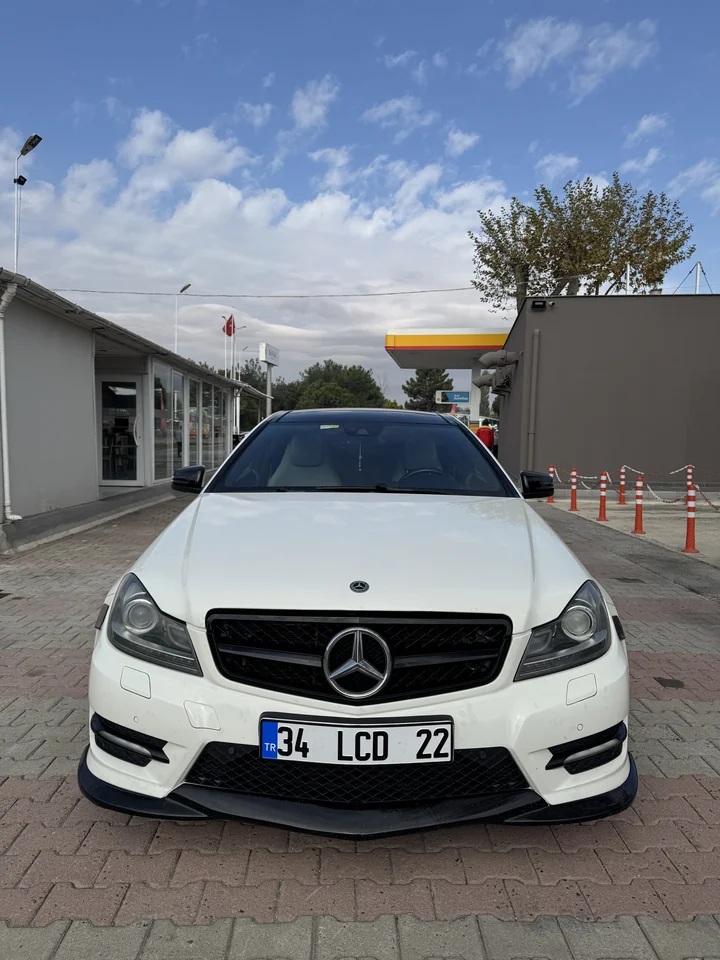
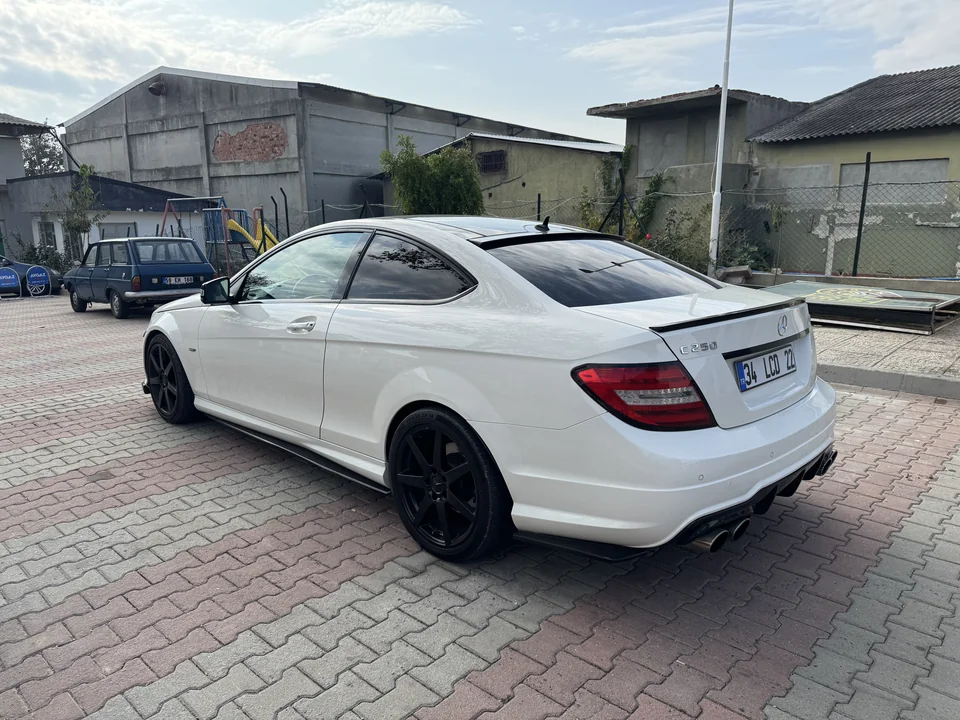
Use the same paint, wheels and trim in both photos. Frame the entire front so the headlights, grille and bumper are visible together. For the second view, step back until both wheels on the visible side and the roofline fit in the frame. Use a rear three-quarter view if the tail lights and trunk appear in the video.
Avoid mixing photos of two similar cars or combining stock photos with pictures of a modified vehicle. For the white coupe above, the front photo showed the grille and bumper, and the rear three-quarter photo showed the black wheels, side profile and rear trim.
What should I write in a car swap prompt?
In the studio, “Which car should change?” identifies the vehicle in the original video. Use a short description that separates it from the others, such as “the red car by the curb” or “the silver SUV nearest the camera”. The two photos already show what should take its place. You can leave this field empty when the main vehicle is clear.
The road test above used this instruction in the model: “replace red car by the car in the image”. In ActLike AI, enter “the red car by the curb” in the target field and attach the two photos. The studio sends the replacement instruction with your references.
Review the replacement as the car moves
Start the comparison at the first frame and check the stance, front bumper and wheel position. Play through the turn or pull-away and compare the side profile, ground contact and the point where the car begins to move. In our road test the white coupe kept its main silhouette and black wheels, but moved off a little earlier and had a darker side window.
This workflow is useful for a personal car reveal, a proposed styling change or a social edit based on footage you already have. If you need to show a particular vehicle exactly as it is for a sale, use the real recording for the listing and check the AI edit separately for details such as plates, badges and trim.




 Listed on Dang.ai